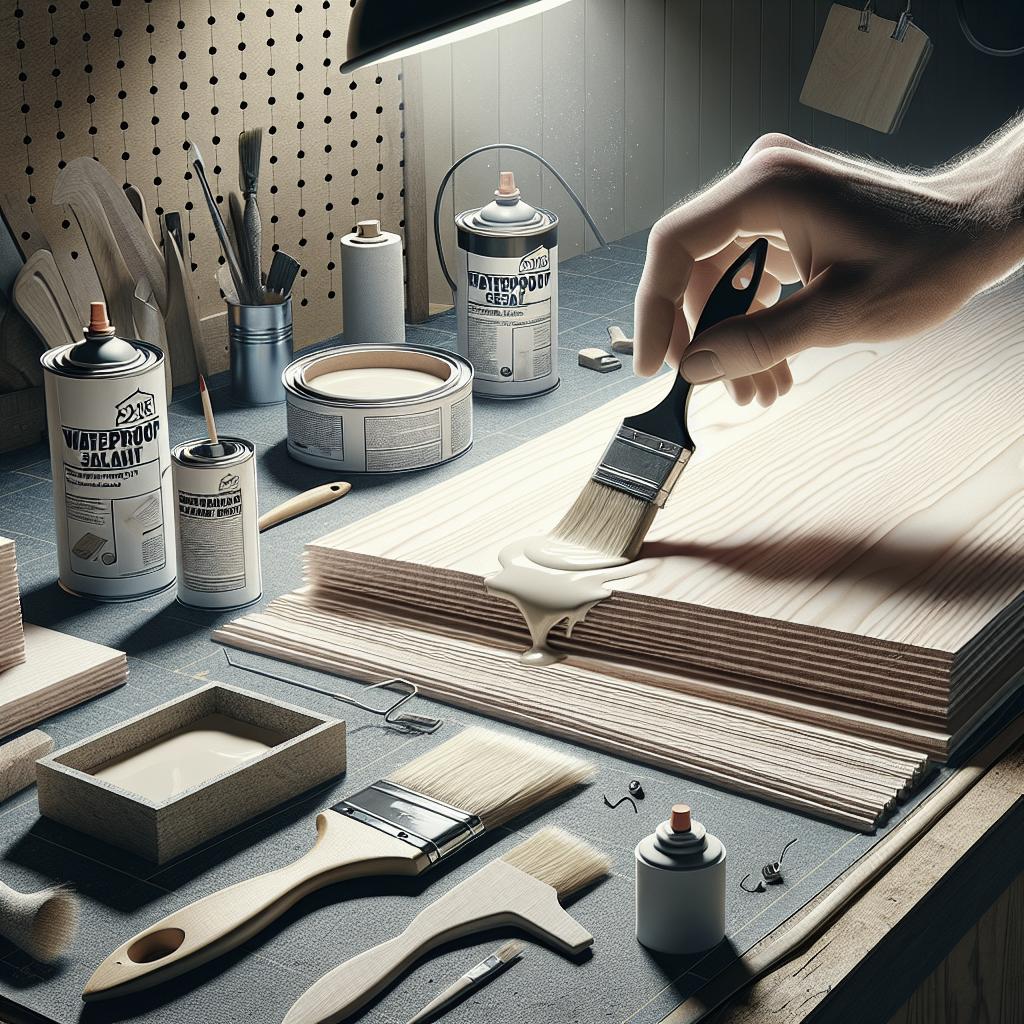
Making plywood waterproof is a crucial step when you plan to use this versatile wood product in environments exposed to moisture or outdoor elements. Whether you’re building outdoor furniture, a boat, or simply using plywood in a high-humidity area, ensuring it is properly protected against water damage will significantly extend its lifespan. This blog post will walk you through why waterproofing is essential, whether treated plywood offers sufficient protection, the best products to use for waterproofing, and a detailed seven-step process to achieve a waterproof finish. By the end of this article, you’ll have a comprehensive understanding of how to keep your plywood projects safe from water damage.
Why Should You Waterproof Plywood?
Waterproofing plywood is essential if you intend to use it in environments where it will be exposed to moisture and outdoor elements. Plywood, by its very nature, is made of thin layers of wood veneer glued together. Despite the strength and versatility it offers, when exposed to water over time, the layers can begin to delaminate, leading to structural failure, warping, or rot. Moreover, unprotected plywood is susceptible to mold and mildew, which can cause health issues for anyone handling or being around the deteriorated wood. Waterproofing not only extends the life of your plywood but also maintains its integrity and safety. Whether you are constructing furniture, using plywood in boat building, or installing it in a wet area like a bathroom, waterproofing is a preventative measure that saves time and money in the long run.
Is Treated Plywood Waterproof?
Treated plywood undergoes chemical processes to enhance its resistance to decay, insects, and mold. However, it is essential to understand that treated plywood is not inherently waterproof. The treatment helps protect the plywood from rot and pest damage, but it does not prevent water from penetrating the wood layers. For projects where the plywood will endure constant or frequent exposure to water, such as for exterior building projects or marine applications, treated plywood alone won’t suffice. You’ll still need to apply a waterproofing agent to keep the plywood in optimal condition. Combining treated plywood with an effective waterproofing method provides double protection, making your project both durable and long-lasting.
What Products Should You Use to Waterproof Plywood?
Rubber-like Sealants
Rubber-like sealants are popular for waterproofing plywood because they form a flexible, durable barrier that effectively repels water. These sealants can be applied using a brush or spray and, once cured, they create a rubbery film over the surface of the wood. This waterproof layer is also resistant to UV rays and can withstand various weather conditions, making it an excellent choice for outdoor applications. Rubber-like sealants are particularly useful for areas prone to standing water or high moisture levels. They are also relatively easy to apply and dry quickly, offering a convenient way to safeguard your plywood from water damage.
Epoxy
Epoxy is another robust option for waterproofing plywood. This resin-based product creates a hard, glossy finish when cured, effectively sealing the wood from water intrusion. Epoxy is widely used in marine applications due to its exceptional waterproofing properties and durability. Applying epoxy involves mixing the resin and hardener, then spreading the mixture evenly over the plywood surface. While it takes longer to cure than some other options, the end result is a highly resilient waterproof barrier. However, epoxy can become brittle in extreme temperatures, so additional UV protection may be needed for outdoor projects.
Polyurethane
Polyurethane is a versatile waterproofing agent that offers excellent protection against water while adding a beautiful finish. It comes in both oil-based and water-based formulas, each with its own set of advantages. Oil-based polyurethane tends to be more durable and better suited for exterior use, whereas water-based polyurethane dries faster and has fewer fumes, making it a preferable option for indoor projects. When applied to plywood, polyurethane penetrates the wood fibers and creates a hard, protective layer. It is also relatively easy to apply with a brush or sprayer and provides a long-lasting protective finish that enhances the wood’s natural appearance.
Exterior Paint
Exterior paint can also be an effective method for waterproofing plywood, especially if you are looking to add color to your project. High-quality exterior paints typically contain additives that help repel water and withstand harsh weather conditions. Applying multiple coats of exterior paint not only enhances the aesthetic appeal but also adds a solid, waterproof barrier over the plywood. For best results, choose a paint specifically designed for outdoor use, and ensure proper surface preparation to maximize adhesion and longevity.
Seven Steps to Waterproof Plywood
1. Choose the Right Plywood
Selecting the right type of plywood is the foundational step in your waterproofing process. Look for plywood that is labeled for exterior use or marine grade, as these types are specifically designed to endure outdoor elements and moisture. Exterior plywood is usually treated to resist decay, while marine-grade plywood offers higher resistance to water damage due to its superior construction and material quality. Ensure the plywood you choose has minimal gaps or voids, as these spaces can become weak points vulnerable to water penetration. The fewer the defects, the easier it will be to achieve a reliable waterproof finish.
2. Choose the Best Product for Your Project
Selecting the best waterproofing product depends on your specific project requirements and environmental conditions. Rubber-like sealants, epoxy, polyurethane, and exterior paint all offer effective waterproofing but vary in terms of application, durability, and finish. Consider the location and use of your plywood. For marine applications, epoxy might be the best choice, while for an outdoor deck or fencing, polyurethane or rubber-like sealants could be more suitable. For aesthetic purposes where color and finish matter, exterior paint provides both protection and visual appeal.
3. Wait for Good Weather
Proper weather conditions are critical for effective waterproofing. Aim to work in dry, warm weather conditions with low humidity. This ensures that the plywood is completely dry before you start and that the waterproofing product can cure properly. Waterproofing in poor weather conditions can lead to inadequate adhesion and longer drying times, which compromises the effectiveness of the waterproofing layer. Monitor the weather forecast and plan your project during a period of consistent, favorable conditions.
4. Use Wood Filler on Any Gaps
Before you apply any waterproofing product, inspect the plywood for any gaps, cracks, or holes. These imperfections form potential entry points for water, which can undermine your waterproofing efforts. Using a high-quality wood filler, seal any gaps and allow it to fully dry before proceeding. The filler helps create a smooth, even surface, ensuring that the waterproofing product adheres properly and forms a continuous, impenetrable barrier.
5. Sand Everything Smooth
Sanding the plywood surface is a crucial step that ensures better adhesion of the waterproofing product. Use fine-grit sandpaper to smooth out the surface, paying extra attention to any areas where wood filler has been applied. A smooth surface allows the waterproofing agent to spread evenly and penetrate the wood fibers more effectively. After sanding, wipe away any dust or debris to prepare a clean surface for the next steps.
6. Clean the Plywood
Once the surface is sanded and smooth, cleaning the plywood is essential to remove any dust, oils, or residues that could interfere with the adhesion of the waterproofing product. Use a tack cloth or a damp rag to thoroughly clean the plywood surface, and allow it to dry completely. A clean surface ensures that the waterproofing agent can form a strong bond with the wood, providing a seamless layer of protection. Any debris left on the surface could create imperfections and reduce the effectiveness of the waterproof coating.
7. Apply the Waterproofing Product
Now that your plywood is prepped and ready, it’s time to apply the waterproofing product. Follow the manufacturer’s instructions carefully for the best results. Start by applying a thin, even coat using a brush, roller, or sprayer, depending on the product you are using. Allow the first coat to dry thoroughly before applying additional coats. Multiple layers will provide a more robust and durable finish. Be sure to cover all edges and corners, as these areas are particularly vulnerable to water penetration. Post-application, let the final coat cure completely before exposing the plywood to any moisture or outdoor conditions.
Next Steps
Finally, here’s a summary of the essential aspects to consider when waterproofing plywood: “`html
| Topic | Details |
|---|---|
| Why Should You Waterproof Plywood? | Prevents delamination, warping, and rot; protects against mold and mildew. |
| Is Treated Plywood Waterproof? | No, additional waterproofing is needed for environments with frequent water exposure. |
| Waterproofing Products | Rubber-like Sealants, Epoxy, Polyurethane, Exterior Paint. |
| Steps to Waterproofing | Choose the Right Plywood, Choose the Best Product, Wait for Good Weather, Use Wood Filler, Sand Smooth, Clean Plywood, Apply Waterproofing Product. |
“` With these insights and steps, you’re now equipped to handle your next plywood project with confidence, ensuring it remains durable and resistant to water for years to come.

