Whether you’re setting up a workshop, organizing a home office, or crafting a new DIY space, pegboards are versatile and incredibly functional. They offer a practical solution for keeping tools and supplies easily accessible while maintaining a neat appearance. However, to achieve the perfect setup, knowing how to cut and install a pegboard correctly is essential. This comprehensive guide will walk you through the process, from initial considerations and safety precautions to detailed steps for cutting, mounting, and maintaining your pegboard.
Before You Begin
Before you start cutting, planning your project is crucial. Determine where you want to hang your pegboard and take accurate measurements of the desired area. This step ensures that you purchase the correct size pegboard and any additional materials required. Sketch a simple layout of your space to visualize how the pegboard will fit and to create a cutting plan. Also, decide on the type of pegboard that suits your needs. Pegboards come in various materials, such as wood, metal, and MDF (medium-density fiberboard). Each material has its pros and cons, so consider factors like durability, cost, and ease of cutting when making your selection.
Safety Considerations
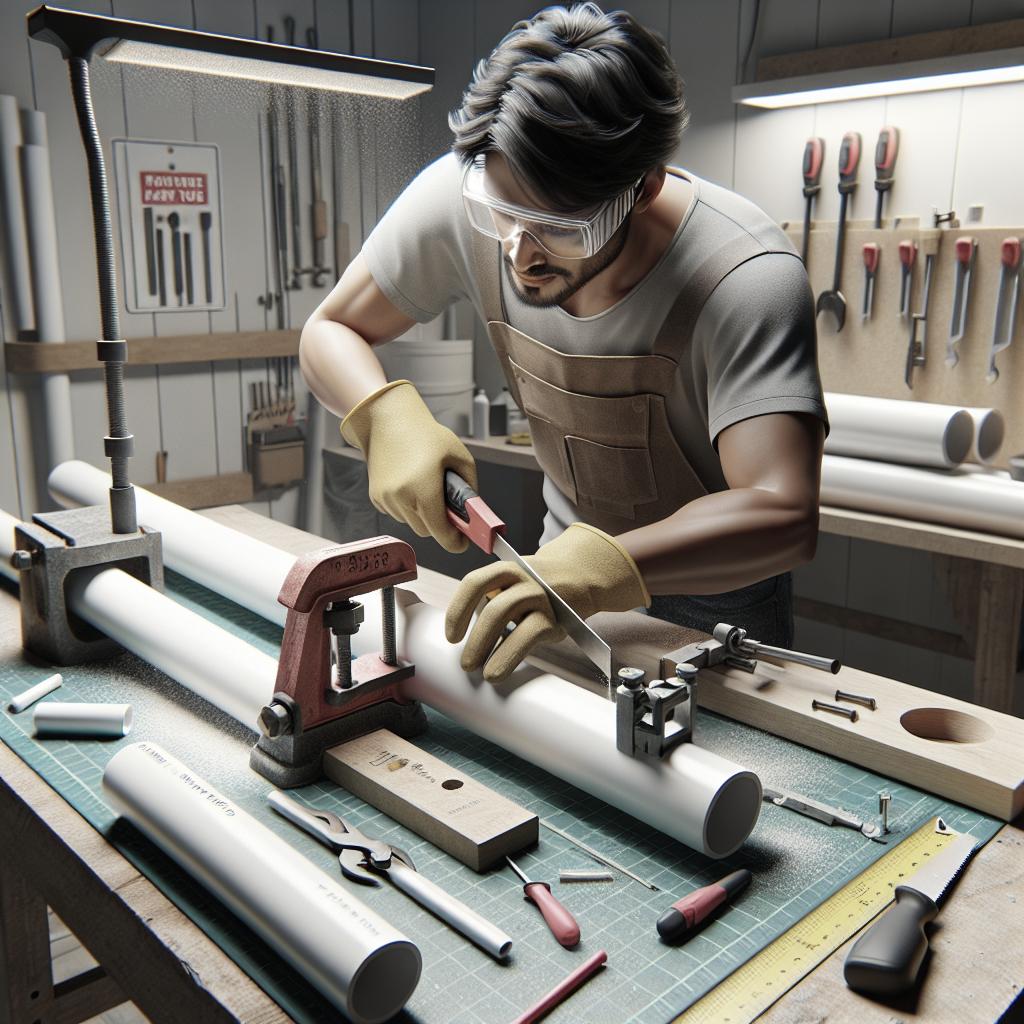
Safety should always be your top priority when cutting a pegboard. Wear appropriate personal protective equipment (PPE) such as safety goggles, gloves, and a dust mask. These items will protect your eyes from flying debris, your hands from cuts, and your lungs from inhaling dust particles during the cutting process. Ensure that your work area is well-lit and clutter-free to avoid accidents. Secure the pegboard firmly onto a stable surface to prevent it from moving while you cut. It’s also a good idea to have a first aid kit on hand for any unforeseen incidents.
What You’ll Need
Equipment / Tools
– Measuring tape – Pencil or marker – Circular saw, jigsaw, or handsaw – Clamps – Sandpaper – Drill – Safety goggles – Gloves – Dust mask
Materials
– Pegboard – Furring strips – Screws – Wall anchors (if necessary) – Paint or wood finish (optional)
Instructions
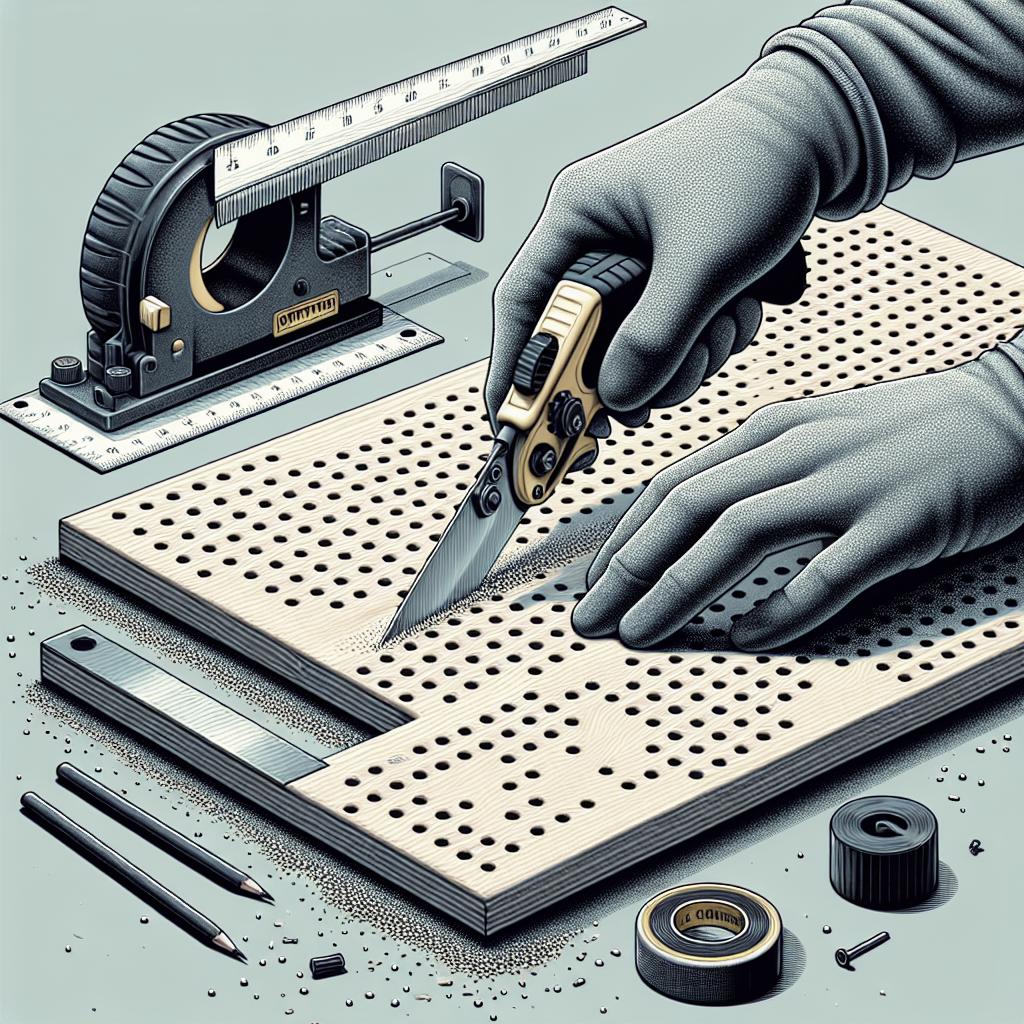
1. Measure and mark your pegboard according to the dimensions of the desired installation area. 2. Secure the pegboard to a stable surface using clamps to keep it from shifting. 3. Use your chosen saw to cut along the marked lines. A circular saw works well for straight cuts, while a jigsaw is ideal for curves or intricate shapes. 4. Sand the edges of the cut pegboard to smooth any rough areas, ensuring a clean finish.
How to Hang a Standard Pegboard
Cut the Pegboard to Size
First, you’ll need to cut your pegboard to the desired size based on your initial measurements. This step is crucial for a custom fit, ensuring that the pegboard seamlessly integrates into your workspace. Measure twice to avoid mistakes and mark your cutting lines clearly with a pencil. Use clamps to secure the pegboard firmly onto a workbench or a stable surface. This precaution prevents any movement while you cut, resulting in more precise lines. Choose an appropriate saw; a circular saw provides straight cuts, but a jigsaw may be necessary for curved or detailed sections.
Cut Furring Strips
Furring strips create the necessary gap between the wall and the pegboard, allowing the peg hooks to insert properly. Measure and cut furring strips to match the width of the pegboard. Typically, you’ll need two strips for the top and bottom and possibly an additional one for the middle for added support. Sand the edges of the furring strips to smooth any rough areas and prep them for mounting. This step ensures a professional finish and eliminates any potential splinters.
Mount Upper Furring Strip
Position the upper furring strip horizontally along the top edge of your determined pegboard location. Use a drill to create pilot holes for the screws, ensuring they align with your wall studs for a secure mount. Drive screws through the pilot holes, securing the furring strip to the wall. If wall studs are not conveniently located, consider using wall anchors to guarantee a stable and weight-bearing installation.
Tip
Use a level to ensure that the furring strips are perfectly horizontal. An uneven mount can make hanging tools and supplies inconsistent and may cause the pegboard to pull away from the wall over time.
Mount Lower Furring Strip
Repeat the process with the lower furring strip, aligning it horizontally at the bottom edge where the pegboard will hang. Ensure the lower strip is level with the upper strip to maintain a consistent gap between the pegboard and the wall. Drill pilot holes and secure the lower furring strip with screws or wall anchors if necessary. Double-check the alignment with a level before fully tightening the screws.
Mount Additional Supports
If your pegboard is large, additional vertical furring strips can provide increased stability and support. Measure and cut these strips to fit between the upper and lower horizontal strips. Space them evenly across the pegboard area. Secure the vertical furring strips to the wall following the same process of drilling pilot holes and using screws. Ensure each strip is flush with the upper and lower furring strips for a seamless fit.
Mount Pegboard
With the furring strips securely in place, it’s time to mount the pegboard. Align the pegboard with the installed furring strips, ensuring all corners and edges match up precisely. If necessary, enlist a helper to hold the pegboard while you drill. Drill through the pegboard and into the furring strips at each corner and along the edges. Secure with screws, being careful not to over-tighten and crack the pegboard material. Once mounted, check that the board is firmly attached and does not wobble.
Tip
To avoid splitting the pegboard, countersink the screws slightly, allowing the screw heads to sit flush with or just below the surface of the pegboard.
Paint Pegboard (Optional)
If you wish to customize the appearance of your pegboard, painting is a great option. Choose a paint type suitable for the pegboard material. Apply a primer if necessary to ensure good paint adhesion and coverage. Use a paint roller for large surfaces and a brush for detailed areas. Allow the primer to dry completely before applying your chosen paint color. Multiple light coats work better than a single heavy coat. After the paint is fully dry, your pegboard is ready to use.
How to Keep a Pegboard in Good Shape
Maintaining your pegboard ensures it remains functional and visually appealing. Regularly inspect the board for any signs of wear or damage. Address any issues promptly to prevent further deterioration. Keep the pegboard clean by dusting it periodically and wiping it down with a damp cloth as needed. Avoid overloading the pegboard with heavy items, as this can cause it to warp or pull away from the wall. To maximize organization and efficiency, periodically rearrange the tools and supplies on your pegboard. This approach keeps your workspace adaptable and helps you make the most out of your pegboard system. Here is a summary of the main points covered in this article: “`html
| Section | Key Points |
|---|---|
| Before You Begin | Plan the project, measure the area, choose pegboard material. |
| Safety Considerations | Wear PPE, secure work area, have a first aid kit on hand. |
| What You’ll Need | Tools: measuring tape, saws, drill. Materials: pegboard, furring strips, screws. |
| Instructions | Measure, secure, cut, and sand pegboard. |
| How to Hang a Standard Pegboard | Cut pegboard and furring strips, mount strips, and install pegboard. |
| How to Keep a Pegboard in Good Shape | Regular checks, cleaning, avoid overloading, periodic reorganization. |
“` With this guide, you’ll have the necessary knowledge to cut, mount, and maintain a pegboard, ensuring it serves your organizational needs perfectly. Happy DIYing!


